Posts

Showing posts with the label painting process

Flower Girl Art Tutorial with Coloured Pencils and Watercolour.

Image
I'm going through a coloured pencils obsession at the moment. 😊  This painting was done using my set of pencils from WH Smith that I've had for many years and I've added a touch of watercolour. Let me show you my process... The pencils don't have the names of the colours on them but the one I used for the initial drawing I would say is similar to a burnt sienna. So I drew her out lightly with the burnt sienna pencil. You can see my faint outlines at the bottom of the picture where I've mapped out where I want her dress to be. If you draw very lightly you can (almost!) rub out the lines if you make a mistake. I then darkened the lines and added some shading, all with the same pencil. The next stage I added blue pencil spots to the dress. The blue watercolour wash was put on afterwards. You can do this because of the waxiness of the pencils, it acts like a resist as long as the watercolour wash isn't too dark. Then I drew in ...

A Forest Painting and Some Woolly Ramblings.

Image
'Edge of the Forest',  mixed media on canvas.  This week I've been working on another landscape painting, this one's on canvas and believe it or not started out its life with a big boat in the foreground covered in roses. I thought I'd taken a photo of it at that stage but I've looked through all my pictures and it doesn't look like I have. I'm afraid you're just going to have to imagine what that looked like, sorry! This one was worked on in the same way as before, building up layers of paint and collage paper, aiming all the while for a balance of shapes and colours. I finally came to a point where I decided that the cottage needed a doorway.  Here's a close-up (above) of how the cottage looked at this stage, I liked it like this but I felt it needed a door. So here it is with a door and with the walls painted a brighter shade of peachy orange and the green tree to the left a little more finished. I'd changed the f...

The Evolution of a Painting

Image
I'm very happy to say that I've finished the painting I've been working on over the past few weeks, yay!  Sometimes a painting can take so long that I imagine it'll never reach the end! This one was made during some challenging personal times and maybe that's one of the reasons it took me so long to finish. The strange thing is, that throughout the making of it I kept on thinking of the word 'peachy' and although I felt far from peachy, I decided it would make a nice title for it so I've decided to call it 'Feeling Peachy'! Here's what it looked like at the very beginning, acombination of collage papers and acrylic paint. I fell in love with that beautiful patch of orange quite quickly and my feelings didn't change as you will see! I painted the sky mauve and the beginnings of buildings and trees were appearing. Here's a close-up showing the house I painted, a stage further than the last picture, it looked li...

What is This Thing We Do?

Image
What is this 'painting' thing that we do, where we lay down colours that please our eyes? And add images we like, a cottage, a tree, then lose them in more shapes and colours, stamping and stencilling, splashing and dripping? When there seems to be no end in sight as the cottage comes and goes, layer after layer? Where we relish and enjoy the thick gold paint as it twinkles on the canvas, adding more, then taking more away? Until finally... A new painting is born. Thankyou for visiting here today! This new painting is called ' Sunlit Cottage ' and is now available to buy in my Etsy shop.  This painting has now sold -thankyou! ♥ Prints are now available to buy here . xx

Advice Please for An Artist's Anxiety

Image
  In my sketchbook I feel free to make images. My sketches here flow from my hand without thought.  Why is it so very difficult for me to feel like that when faced with a canvas?! You might remember these I started last week... A good start but I personally didn't like them because each part of them hadn't flowed when I was painting. It was as though I had a stern voice over my shoulder telling me to "get it right" with every brushstroke. How intimidating! This is the one that you saw in the right hand side of the photo. I do love the colours but I felt I was trying too hard with the composition and that was preventing me from enjoying the process. If you're a painter you'll know how badly a painting will turn out if you haven't enjoyed at least part of the making! So I decided to pretend I was painting in my sketchbook, with no-one to please except myself, and this is what happened to it... I loved creating a...

Feeling Artistically Stuck

Image
Thankyou so much for your amazing reponse to my last post! It's so lovely to share my passion for colour with others that understand what I'm gushing about! You'd have thought that after that I'd be all fired up and filled with inspiration, getting my paints out and splashing the colour around but instead of this I've found myself stuck. Advice from the past tells me to 'fill the well' and 'go on a creative date'. Is this familiar to anyone? Julia Cameron's book The Artists Way is one I've read so many times I think I know it off by heart. I love it and it's filled with advice about staying creative but I did 'fill the well' and it doesn't seem to have worked. I've been out on lots of walks in nature, visited an aMAZing exhibition that I wrote about in my last post but now that I'm back to the usual routine I'm finding that I don't know which way to turn. I've tried to paint but it doesn't come...

Fairytales and Painted Tissue

Image
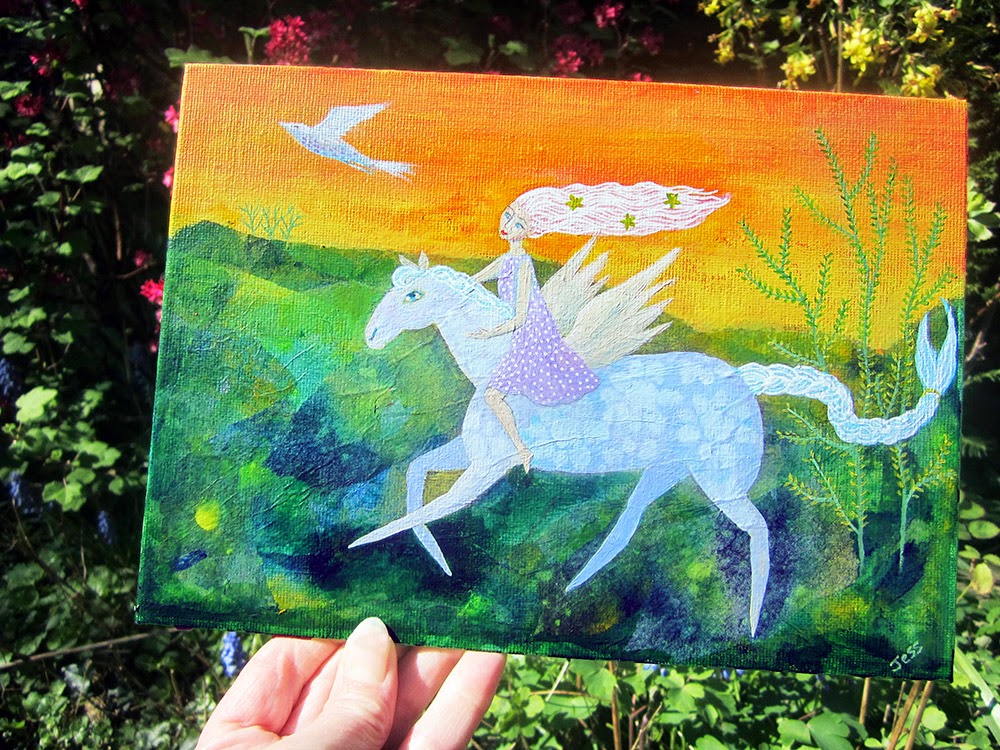
Here are my two latest paintings on canvas board. The thing they have in common is that I've made them using a new technique (to me) where I painted the layers of paper collage beforehand. I've used coloured tissue in mixed media paintings before but the ones you can buy in the shops are each of one solid colour. I've enjoyed using the bought ones but this time, to give more interest and texture, I thought I'd colour them myself! I'll show you what I did. :) I used some off-cuts that I had of white tissue. I laid them out on some blue plastic to protect my long suffering floor, wetted them with a water spray, and added drops of ink onto the wet surface. They were very delicate at this stage, I know this because I tried to move one of them before it was dry and it started to disintegrate! It was so tempting to hurry up the process! As it turned out, it didn't really matter too much because I wanted to tear it up anyway when I ...